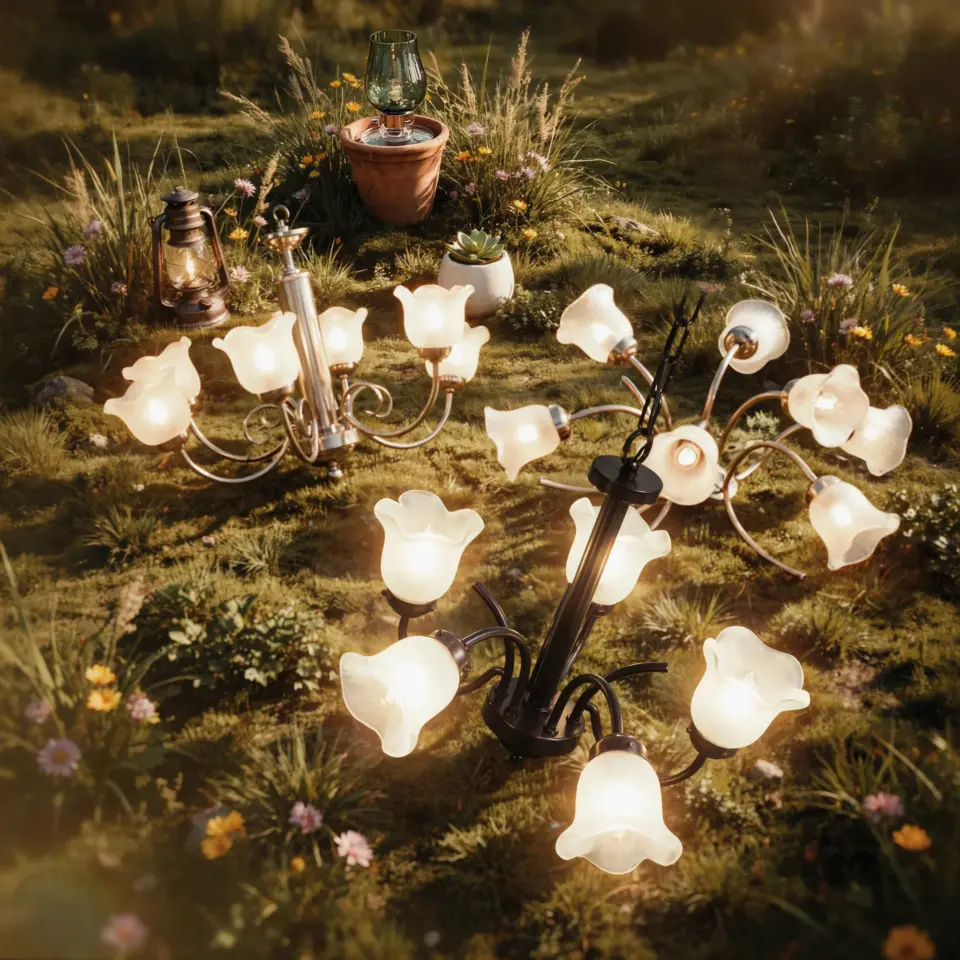
Last summer I turned a dusty brass chandelier from a local thrift store into a glowing centerpiece for my patio. A solar chandelier sounds complicated, but it is really just an old fixture plus a few solar light kits and some patience. No wiring, no electrician, no extension cords. You get soft garden lighting that runs on sunshine and looks like it cost a small fortune. I want to walk you through exactly how I did mine so you can do the same with your next thrift store find.
Finding the Right Thrift Store Chandelier for Upcycling
Not every old chandelier works well for a solar conversion. Look for one with open sockets or arms that can hold small solar lights. Metal bodies are best because they hold up outdoors longer than plastic or resin pieces.
I focus on chandeliers that have at least four arms and a central stem. The more arms, the more lights you can add. Check that the fixture is structurally sound. Rust on the surface is fine. Deep rot or broken mounting rings are not worth your time.
- Look for brass, copper, or wrought iron finishes
- Avoid chandeliers with glued-on glass shades that cannot be removed
- Check that the arms are hollow or have space to feed wires (you will remove the old wiring anyway)
- Small to medium chandeliers (12 to 24 inches wide) are easiest to mount on a pergola or hook
Thrift stores, estate sales, and Facebook Marketplace are goldmines. I paid $8 for mine. You should budget under $20 for the chandelier itself.
Choosing Solar Light Kits for Outdoor Decor
The heart of this project is the solar light kits. You need small, individual solar lights that can be taken apart. I used solar pathway lights from a big box store. Each kit costs around $3 to $5 and comes with a solar panel, a battery, and a string of tiny LEDs.
Do not buy solar lights that are sealed shut. Look for ones where you can unscrew the cap to access the battery and LED unit. That way you can remove the LED part and place it inside the chandelier arm. The solar panel stays attached to the top of the fixture.
Warm white LEDs give the best glow for garden ambiance. Avoid blue or cool white, they look harsh. Also grab a few extra batteries (NiMH rechargeable AAAs) so you can swap them out if needed.
Tools and Materials You Will Need
Gather these before you start so you do not have to stop mid project. Most are probably already in your toolbox.
- Thrift store chandelier (cleaned and dry)
- 2 to 4 solar light kits (one per chandelier arm)
- Wire cutters and wire strippers
- Small flathead screwdriver
- Hot glue gun and glue sticks
- Sandpaper (fine grit) for smoothing rough spots
- Spray paint (optional, if you want to change the color)
- Outdoor sealant or clear silicone caulk
- Zip ties or small screws for mounting
You do not need soldering equipment. Everything is mechanical. If you can untwist a wire and glue a cap on, you have the skills required.
Step by Step: How to Make a Solar Chandelier from a Thrift Store Find
Start by removing all the old electrical wiring from the chandelier. Use the wire cutters to snip the old cord near the base. Then pull each wire out through the arms. This is messy work. Wear gloves if the wiring feels brittle or sharp.
Once the chandelier is bare, clean it thoroughly. Soap and water work for dirt. Use fine sandpaper to remove loose paint or rust. If you want a different color, now is the time to spray paint. I chose matte black. Two light coats, drying 30 minutes between each.
Next, take apart your solar light kits. Unscrew the top cap of each solar light. Inside you will find a small LED board connected to a solar panel and battery. Gently pull the LED board out. The wires are short. Keep them intact.
Feed the LED board and its wires through the chandelier arm from the outer end toward the center. The wires will come out of the socket hole. The LED board should sit snugly inside the arm cup where the candle would go. If it is loose, use a dab of hot glue to hold it in place.
Installing the Solar Light Components on the Chandelier
Now you need to attach the solar panel part to the top of the chandelier. Most chandeliers have a flat central cap or a finial at the top. Remove the finial if possible. The solar panel from each kit is small and square. You will mount all of them on top of the chandelier stem.
I placed two solar panels side
#SolarChandelier #DIYOutdoorDecor #ThriftStoreUpcycle #SolarLightDIY #GardenLighting
Leave a Comment