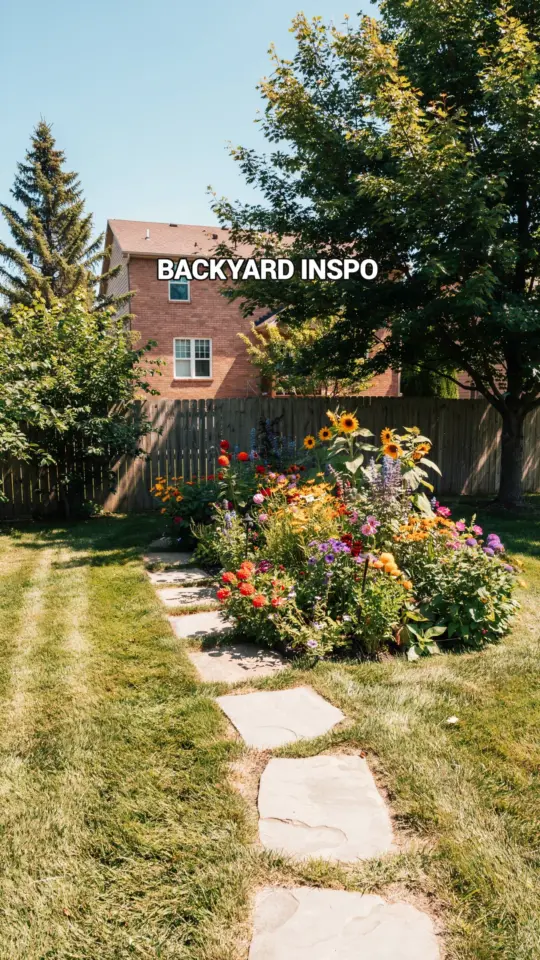
After years of dreaming about a cozy spot to gather around a fire, we finally built our own fire pit area this fall. I wanted a space that felt warm and inviting without blowing our renovation budget. Turns out, with a little planning and some weekend work, you can create a beautiful outdoor living spot for under $600. In this post, I will walk you through our entire fire pit area project, including the material list, the exact budget breakdown, and every step we took to get from bare grass to a finished hangout zone. If you are thinking about a backyard makeover, this guide is for you. Let’s get into it.
Why We Chose to DIY Our Backyard Fire Pit
Hiring a landscaper would have cost us thousands, and we wanted something that felt like us, not a catalog photo. Building it ourselves gave us total control over the size, shape, and materials. Plus, we could spread the work across a few weekends instead of paying a lump sum. The diybackyard trend is huge right now because it saves money and adds personal character. We also noticed that ready-made fire pit kits were either too small or too expensive, so designing our own was the best move.
Another reason was timing. Late summer and early fall are perfect for outdoor projects in our area, with cooler mornings and less humidity. By building it ourselves, we could start without waiting for contractor availability. And honestly, the sense of accomplishment when the first fire crackled was worth every sore muscle.
Planning the Layout: Choosing the Best Location for Your Fire Pit
Spend time walking your yard before you dig. We looked for a spot that was at least 10 feet away from the house, any fences, and overhanging tree branches. Wind direction matters too. In our backyard, the prevailing breeze comes from the west, so we placed the fire pit on the east side so smoke would drift away from our seating area. Check local codes as well; some municipalities require a certain distance from property lines.
We also considered drainage. After a heavy rain, our chosen spot stayed dry because it was on a slight slope. If your yard holds water, you might need a gravel base to keep the pit area from turning into a mud pit. Mark the outline with a garden hose or spray paint to visualize the circle before you commit.
Complete Material List for an Affordable Fire Pit Area
Here is everything we bought, including quantities and where we found the best prices. Most items came from a big box home improvement store, but we also used a local landscape supply for bulk gravel.
- Fire pit ring (36 inch diameter): $45 – steel ring from a hardware store, heavy duty.
- Paving stones (12×12 inch, 60 pieces): $120 – used for the base ring and seating wall.
- Crushed gravel (⅜ inch, 3 tons)#firepitarea #diybackyard #outdoorliving #budgetbreakdown #backyardmakeover
Leave a Comment