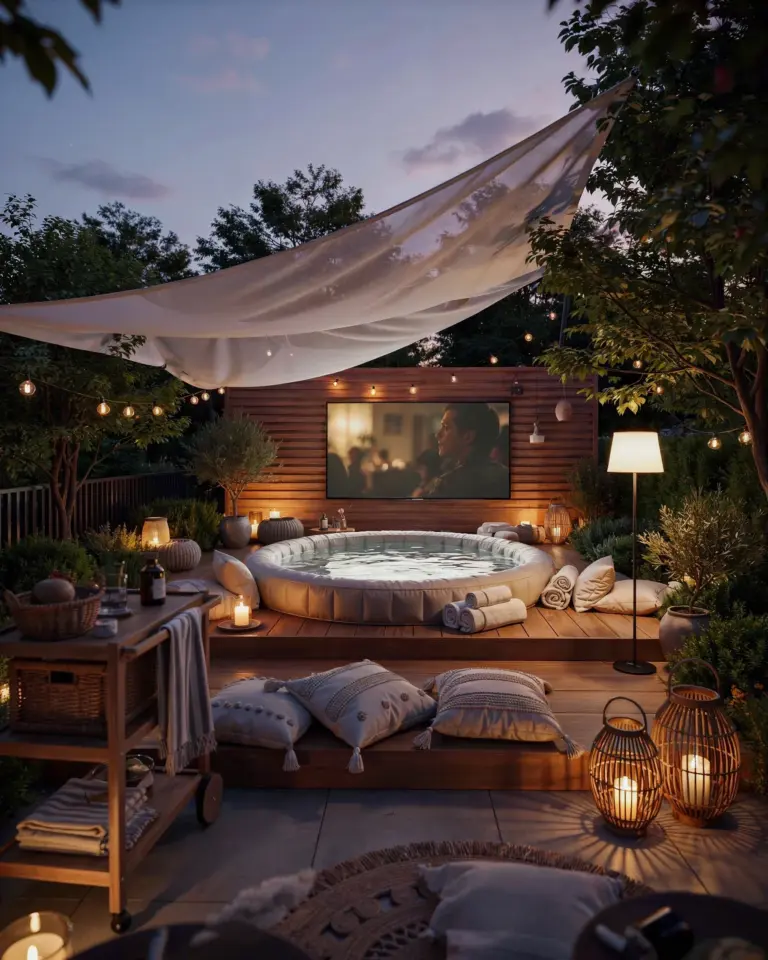
We all want a backyard that feels like a getaway, but the price tags on those magazine spreads can be enough to make you choke on your iced tea. The good news? Cheap backyard makeover ideas are everywhere if you know where to look, and most of them don’t require a single permit or a professional crew. I have personally spent way too many weekends wrestling with landscaping fabric and spray paint, so this list comes from real trial and error, not just pretty Pinterest boards. Some of these projects took me less than an afternoon, some took a full two days, but all of them made me walk outside and actually breathe a little easier.
Look, I am not a professional designer and I do not have a trust fund for outdoor decor. What I have is a healthy obsession with before-and-after photos and a tolerance for getting dirt under my fingernails. You do not need to rip out your entire lawn or build a deck addition to fall in love with your yard again. You just need a few smart moves, a little elbow grease, and the willingness to paint something that was previously an ugly shade of builder-grade beige.
Refresh Your Tired Planters and Pots for Instant Curb Appeal
Honestly, if you only do one thing this weekend, go look at your front porch or patio and count how many sad, cracked, or just plain boring planters you have. I bet it’s more than you think. A coat of exterior spray paint is cheap (like, under ten bucks cheap) and it completely transforms a cheap plastic pot into something that looks like it came from a boutique garden store. I once painted a collection of mismatched terra cotta pots a deep matte charcoal, and my neighbor literally asked me where I bought them. She did not believe me when I said they were from the clearance rack at a big box store, scuffed up and sun-faded.
The trick is all in the prep work, which is honestly the most boring part. Clean the pots with soapy water, let them dry completely, and then hit them with a bonding primer if they are plastic. Skip the primer on terra cotta, it soaks up paint and actually holds onto it better that way. Then go wild with color. I like to stick to a cohesive palette of two or three colors, because it immediately makes everything look intentional rather than chaotic.
- Spray paint old plastic pots in a single, high-impact color like deep navy or burnt orange.
- Wrap plain pots in jute twine or rope using a hot glue gun for a rustic texture.
- Chalk paint a thrifted urn or pedestal planter for a vintage, aged look.
- Group three different sized pots together with the same paint color for a set that looks custom.
String Lights and Lanterns That Change the Whole Vibe
Go grab a pack of cheap clip-on string lights from the hardware store, I’ll wait. The difference between a yard that feels exposed and a yard that feels like a cozy sanctuary is almost always the lighting. You don’t need to hire an electrician; solar string lights and battery-operated lanterns are totally fine for most people. I have hung them from fence panels, wrapped them around a tree trunk, and draped them across a pergola with zero electrical knowledge whatsoever. It’s basically just a lot of hooking and plugging in.
The key is to hang them at a height where they aren’t blinding you, but also where you can’t just see the bare bulbs staring at you from eye level. That’s a rookie mistake I made the first time, I hung them too low and felt like I was standing under an interrogation light. Aim for around seven feet off the ground, and use those little plastic zip ties instead of nails because they won’t damage your fence and they’re easier to adjust when your design plan inevitably changes.
Build a Cheap DIY Fire Pit Under $50 for Year-Round Coziness
I know fire pits can be these massive, expensive hardscaping projects with stone veneer and gas lines, but that is simply not necessary for the average homeowner. For under fifty bucks, you can grab a metal fire ring from the hardware store and some pavers from the garden section. There it is. That’s the whole secret. You level out a circle of dirt, lay down those square concrete pavers in a ring around the fire ring, and suddenly you have a backyard centerpiece that everyone gravitates towards.
One important note here: check your local regulations first or ask your fire department. I have a friend who skipped this step and got a very awkward phone call from a neighbor about smoke. Your city might have rules about open flames, so just do a quick search or ask around before you start burning things. Also, place the fire pit far away from any low-hanging tree branches, especially if you have those weeping willow trees like I do, they drop little twigs that are just begging to catch a spark.
Create a Defined Seating Area Without Breaking the Bank
People will always stand around awkwardly at your backyard barbecue unless you give them a clear place to sit. That sounds like a joke, but it’s actually true. If you don’t have a patio, a simple gravel pad with a few camp chairs or a repurposed wooden bench can work wonders. You can also build a super simple box frame out of cedar lumber (which is naturally rot-resistant) and fill it with an outdoor cushion. It’s like a giant floor pillow, but you don’t have to worry about it getting ruined by a light drizzle.
I found two old wooden pallets at the side of the road once, flipped them over, and put a piece of plywood on top. Then I threw a weatherproof cushion on it and called it a day. It wasn’t pretty, but it was functional for about two years until the wood gave out. So if you are going the pallet route, make sure you pick ones that are stamped with “HT” (heat treated) instead of “MB” (methyl bromide), because you don’t want to be sitting on a piece of furniture that has been fumigated with toxic chemicals.
Paint a Dated Concrete Patio or Porch Floor for a New Look
You might think a stained or cracked concrete slab is a permanent eyesore, but it’s actually a blank canvas. Grab a can of concrete paint (not regular paint, it will peel) and a roller, and you’re in business. I painted my boring gray patio a soft sage green one year, and it instantly made the whole yard feel bigger and more intentional. The best part? It cost me about thirty dollars and took maybe three hours before I was sitting back with my feet up.
You can also do a checkerboard pattern if you’re feeling ambitious, but honestly, a solid color is way easier and looks super clean. Just make sure you clean the concrete really well first with a pressure washer or some heavy-duty cleaner. Nobody likes painting over mildew or old grease spots, because then you just have a nice fresh coat of paint covering a problem that’s still there. After the first coat, you’ll probably see brush marks or bare spots, so don’t panic and don’t just leave it. Let it dry and go over it with a second coat. It will look so much better.
Hide Ugly Fences and Walls With Living Privacy Screens
If your neighbor can see you lounging in your underpants, you need a privacy screen, period. Fence panels are expensive, but fast-growing climbing plants or a collection of tall potted grasses are not. You can even hang outdoor curtains from a simple wire or rod, which is my personal favorite hack because it adds an instant softness to a harsh fence. I use canvas drop cloths from the paint store, they’re heavy, cheap, and have that laundry day aesthetic that’s very popular right now. Just pop some grommets in the top and they hang beautifully.
For a living option, plant black-eyed Susan vines or morning glories at the base of a chain-link fence. They basically take over by late summer. It’s not a permanent solution, but it’s a lot cheaper than installing a cedar fence. And the flowers attract bees and hummingbirds, which is just a lovely bonus. It gives you something pretty to look at while you’re sipping your coffee, instead of staring at your neighbor’s overflowing trash bins.
Upgrade Your Garden Path With Stepping Stones or Mulch
A bare dirt path to your garden gate is a recipe for muddy shoes and a weedy mess. You can usually find cheap, mismatched pavers or concrete tiles at a salvage yard or through local buy-nothing groups. Lay them in a staggered pattern, like they just naturally fell out of the sky into the ground. It looks much more organic than a perfectly straight line, and honestly, it’s easier to make look good because you don’t have to fuss over exact measurements. And for the gaps between them? Just use mulch or pea gravel. It keeps down the weeds and looks way more polished than wild grass.
One quick tip: put a layer of landscaping fabric under the gravel or mulch to really block the weeds. Weeding a path is a mind-numbing task, and I speak from experience when I say it will suck your will to live. It takes an extra ten minutes on the front end to save you hours of maintenance later. It is by far the most important step if you do not want to spend your entire weekend hunched over with a trowel.
Remember that a transformation isn’t about perfection, it’s about creating a space you actually want to use. You can skip the expensive furniture and the professional landscaping, but you don’t have to skip the joy of a good outdoor space. Start with one small project this weekend, maybe just clearing a corner or painting a single pot, and see how it makes you feel. Before you know it, you’ll be sketching out plans for the next one with a cheap sketchpad from the dollar store.
So which idea are you secretly itching to try first? The fire pit was a game changer for my own yard, but that lighting swap works magic too. Grab some paint or some string lights, and tell me what you ended up doing.
#cheap backyard makeover ideas #weekend backyard projects #before and after backyard #backyard transformation diy #diy fire pit ideas
Leave a Comment